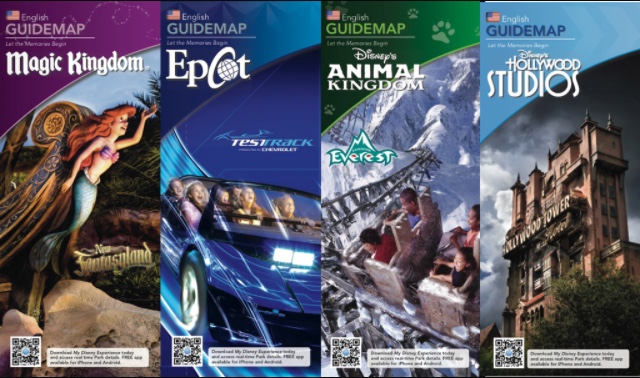
 | Emma and I LOVE to do DIY projects! We often get together to craft, and when we can make it a Disney themed craft, that just makes it even more enjoyable! For Christmas gifts last year, I made a lot of picture frames from park maps that I collected at Disneyland and California Adventure. I brought back a LOT of maps from my trip because I already knew I would want to use them to make some Disney crafts. These picture frames were a huge hit! |
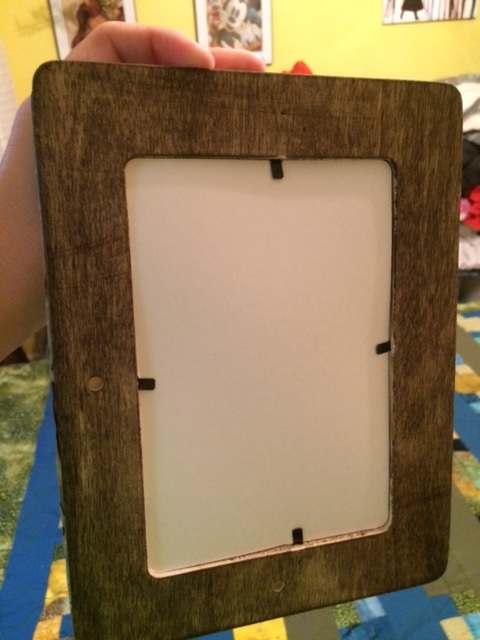
First, you need to buy the supplies. I bought the frames at Michael’s for $1 each. They are called ArtMinds Unfinished Wooden Frames. The one pictured below is completely square, but the ones I bought for my frames were rectangular. There are lots of different shapes to choose from and they are all pretty inexpensive. I also bought some glossy mod podge and some wood stain. The wood stain is not a requirement, but I like to stain most of my wood projects just to make it look nicer.
Step One: Stain the back and sides of the frames. I took the stain, dipped an old rag into it, and then rubbed it onto the frame where I wanted it. The stain is very messy and will stain your hands, so be careful not to get it on your clothes or anything. In the picture below, you can see that there are two small holes in the back of the frame. The frame comes with a little wooden dowel to put into either one of the holes in order to make the frame stand up. This way you can make it stand horizontally or vertically. I stained this wooden dowel as well.
Step Two: Cut out the park maps. To do this, I laid out the park maps, and put the frame face down over the part I wanted to use. I traced around the outside and inside of the frames, and then cut out the shape of the frame. Since I made these as gifts, I tried to choose the parks and specific areas that each person enjoyed the most. For example, my grandmother’s favorite area of California Adventure was Cars Land, so I made sure to include it on her frame.
Step Three: After cutting out the frame shape, I spread the mod podge onto the frame and stuck the map down onto it. Then, I heavily coated the rest of the front of the map and sides of the frame in mod podge. It dries clear, so there is no need to worry about where you put it.
For the finishing touch, I cut out each person’s favorite rides and included them on top of the park map. Adding extra rides not only helped to fill in blank spots on the map, but also made it look a bit more unorganized, which I liked. Everyone also enjoyed seeing that I remembered what their favorite attractions were and included them! For example, my frame includes the Founder’s statue, Sleeping Beauty’s Castle, and the Tower of Terror.
I used my park maps to make picture frames, but there is no shortage of ideas for you to try! As I searched online for ideas to share with you, I found many different blog posts with their own park map DIY projects. Some of the best included magnets, coasters, Christmas ornaments, plates (using dishwasher safe mod podge), placemats, and even gift bags! Get creative, and be sure to share any Disney DIY projects you find or attempt with Emma and I so that we can get crafty too!
By: Jessica
 RSS Feed
